Strings don’t last forever. In fact, as soon as they are fitted on a violin, it’s only a matter of time before they have to be replaced. Physics puts so much pressure on them that the day will come when you must change the strings of your violin, viola, or cello. Whether you are a beginner or an advanced player, changing violin strings may sound like trouble to a lot of musicians. That’s why I’m here to show you some tips and tricks to change your strings in no time.
The right way to change violin strings
[pullquote align=”right”]
I say “violin” to put it simply, but of course these techniques are also valid for violas and cellos, since they are all made the same way.
[/pullquote]
There is no good or bad way to change your strings. However, there are easier methods, and even safer methods. While restring is not dangerous for the instrument, loosening the tension weakens the whole set up.
- The pegs keep slipping
- The bridge doesn’t stand still
- Inside the instrument, the soundpost is let loose
- The tailpiece gets mixed up (and might even scratch the table varnish)
You get it, the strings are what stick together the various mobile parts of the instruments. They are responsible of the most important thing on a violin: the tension. When changing your strings, you need to keep the tension as it is. Doing so preserves:
- The setup and the settings made by the violin maker. Thus you will have no surprise with how your instrument sounds.
- The balance of the instrument, which ensures the stability of the strings straightaway.
Change violin strings one by one
No matter what string you change, you need to remove it one at a time. This way, at least ¾ of the tension will be kept. Moreover, since the pegs are not the same, you won’t mix them up.
Here is a rather simple method to change violin strings:


1 – Remove the string
Before installing your new string, you need to get rid of the old one. Just loosen the peg (turn it towards you). Once the string is let loose, you can easily remove it by just pulling it out.
2 – Check the pieces
Then you need to examine every part of the instrument that touches your string:
- The peg
- If you have one, the fine tuner on the tailpiece
- The notches on the nut and the bridge (through which the string goes)
These pieces must be in good condition, or else they can affect how the string sounds as well as its lifetime.
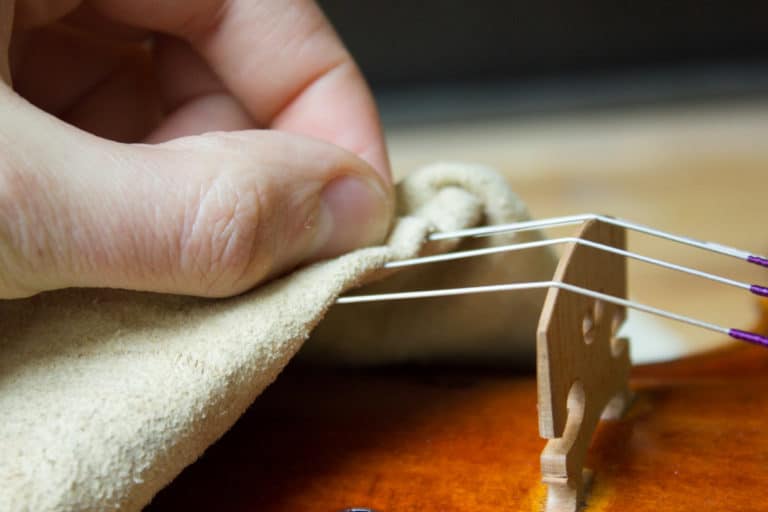
3 – Fit the new string
The string is out of its packaging. It is still straight, so you can thread it directly into the peg. Then pull on the string while turning the peg opposite to you. Once your string is nicely wound, you just have to fit the other end into the tailpiece or the fine tuner. Finally, to maintain the tension, pull on the string gently and keep turning the peg. And here is your string set! All that’s left is to tune your violin.
[kad_youtube url=”https://www.youtube.com/embed/nRPohRgmEAI” width=”600″ height=”400″]
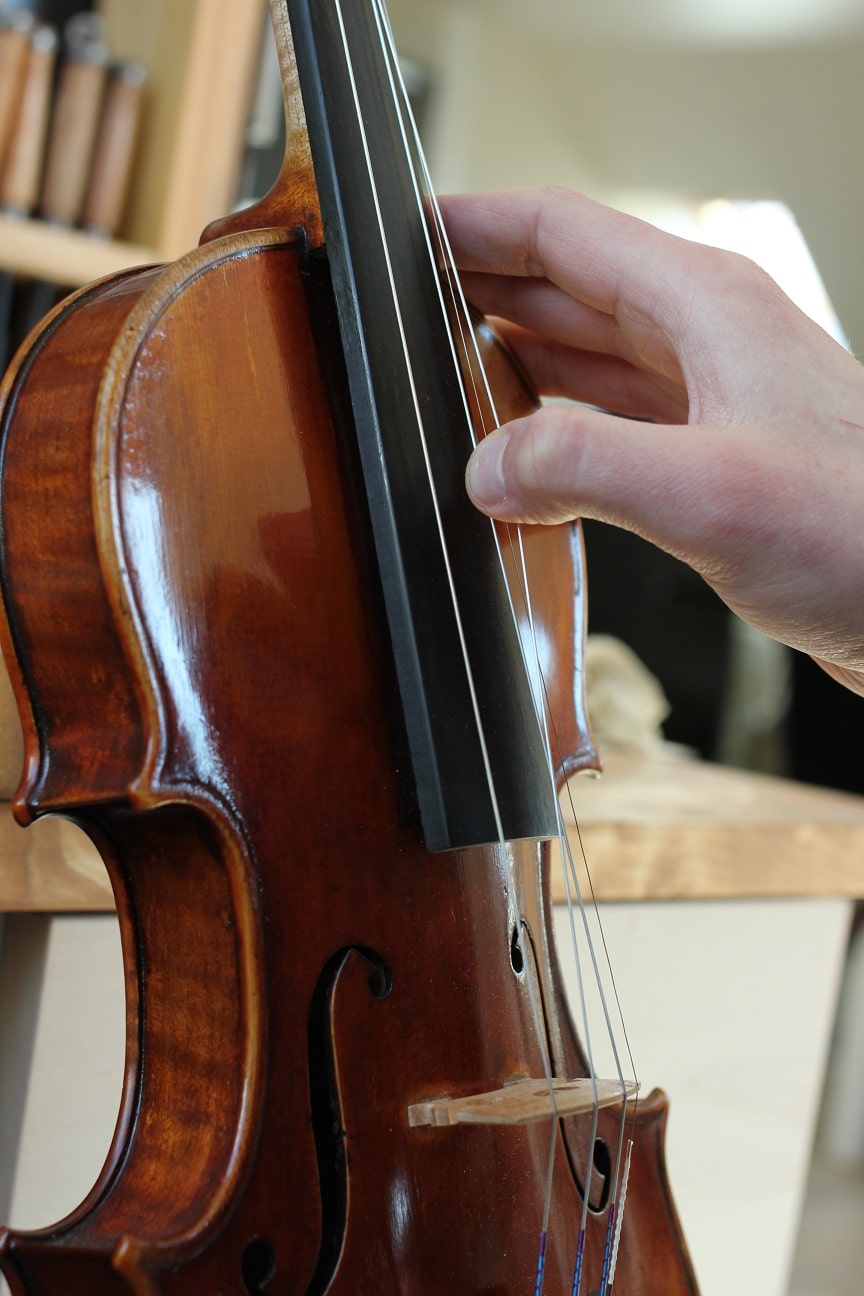
4 – Make sure that everything is at the right place
You want the string to be wound neatly and evenly onto the peg. The grip will be better if the string comes just to the inside edge of the pegbox. However, having the string crushed up against the edge won’t do either: it could push the peg too deeply into the wood. Not only would that be more difficult to turn, but it could break the pegbox altogether.
If you don’t manage it at first, unwind the string and try again until everything is at the right place.
5 – Tuning your violin
Changing your violin strings is one thing – tuning them to the accurate pitch is another. Keep in mind that it can take a few days before your strings are stable. Besides, their true potential won’t unfold at first: their sound will change as you use them.
About checking the parts
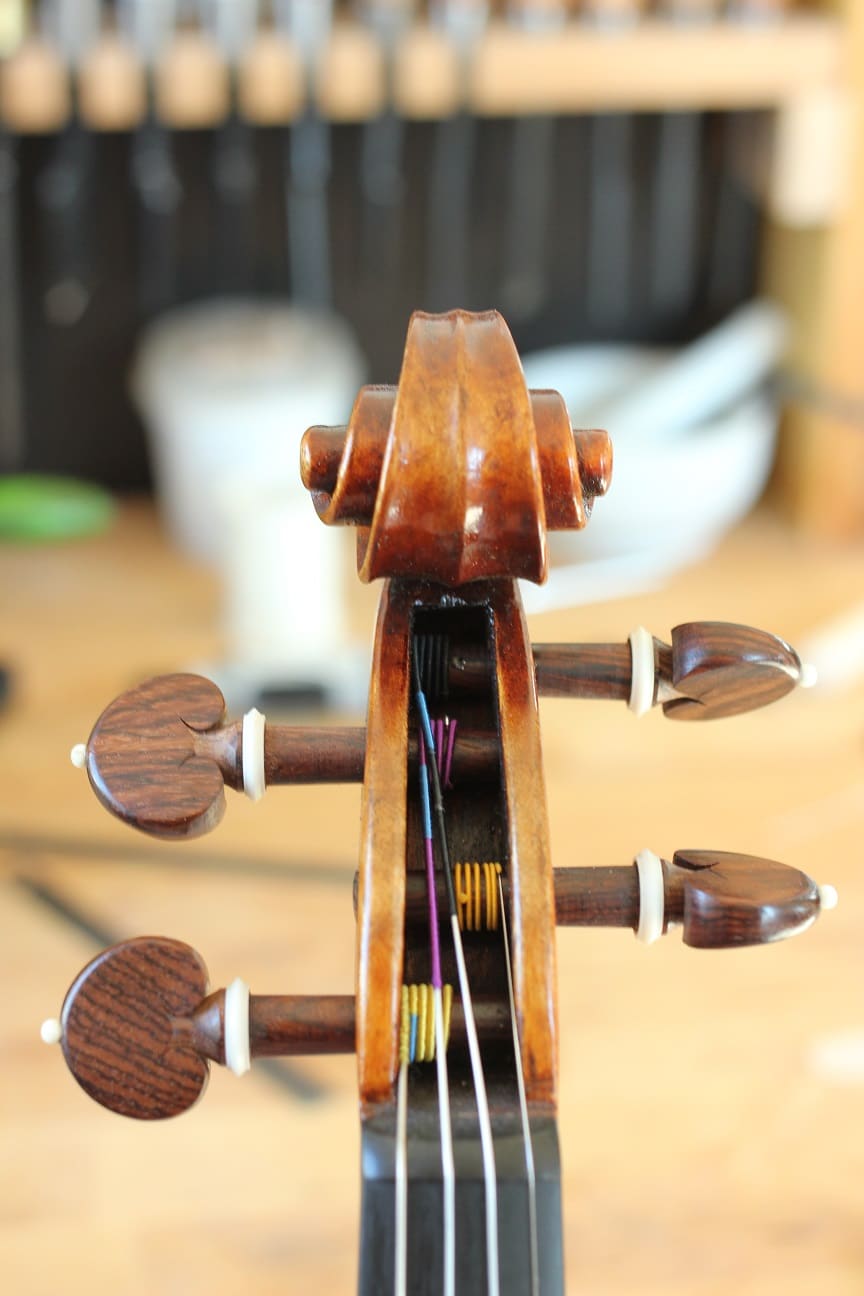
The peg
To be of great use, the pegs need to be clean and flawless. Carving them yourself is not easy, but what you can do is wipe them with a duster.
What you need to look for:
- Cracks, shards, or other visible flaws that would impair the pegs.
- How the peg hole is worn: if it goes inside the edge of the pegbox, it is bad news.
While the string isn’t there, you can turn the peg in the hole and check how smoothly it goes. If it’s hard to turn, somewhat sticky, or creaky, you will want to take care of that.
Regarding your pegs, there are few operations you can practice at home, but I could go on more details in another article. However, in the end, only a violin maker can properly look after your pegs.
The fine tuner
It’s better to check how your fine tuners work without the string. You can clean it, reset it, and even lubricate it. Paraffin wax is a good tool to do so, because it won’t pour all over the tailpiece and the violin.
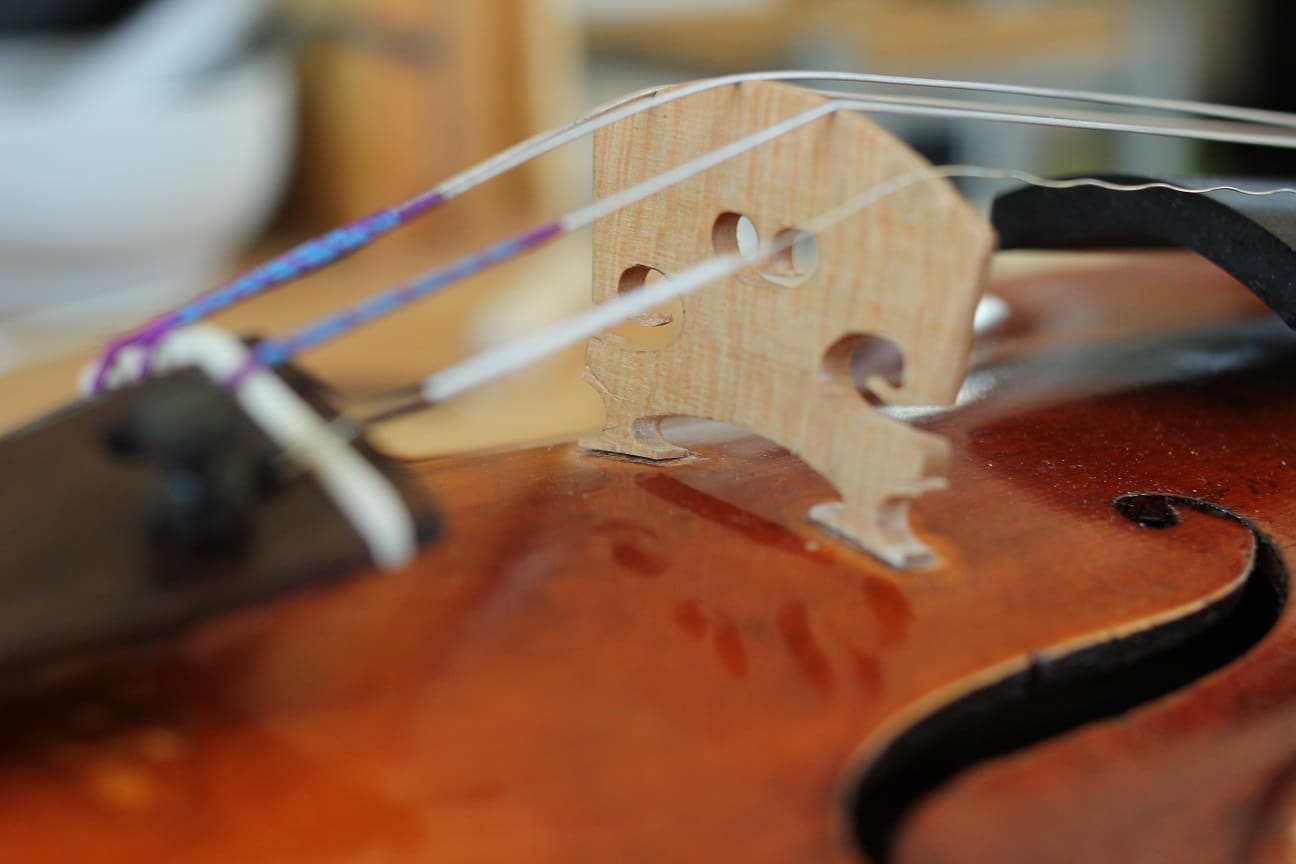
The string notches
You must check the notches on the nut and the bridge.
What matters is that the slots are neither warped nor rough. They must be smooth and clear enough for the string to vibrate. To ensure that the string will slip, you can apply 9B graphite pencil (8B can be enough) in the contact area.

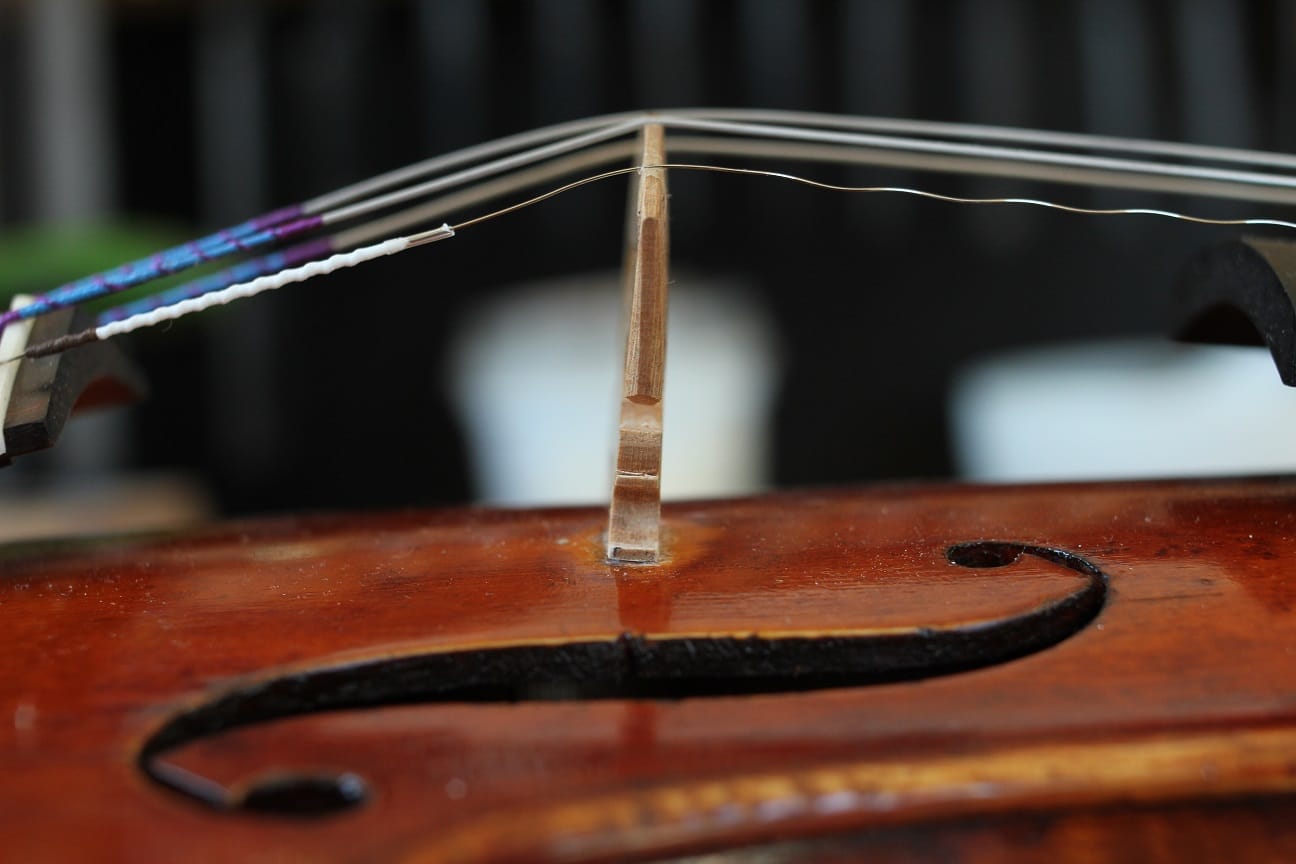
Beware of the bridge when you change violin strings
There’s a high possibility that tuning your violin will pull the bridge forward. If it bends too much, it might fall violently against the table.
To avoid this experience that will definitely scare you for all your tuning sessions, there’s a simple solution – gently pull back the bridge. I will discuss that in another article.
Common mistakes when changing violin strings
There are so many mistakes possible when it comes to change violin strings. It is normal to be confused when you begin – and there are a lot of experienced players who have kept bad habits. Here are a few things you must be careful of:
Ill-fitted strings

String over-tension
[pullquote align=”right”]
A few semitones are a big enough threat to break your string.
[/pullquote]
Generally speaking, over-tension is really bad for strings. Indeed, strings have been made to sustain precise conditions and must not exceed the expected notes. Not only does that weaken them, but it also wears them out quicker.
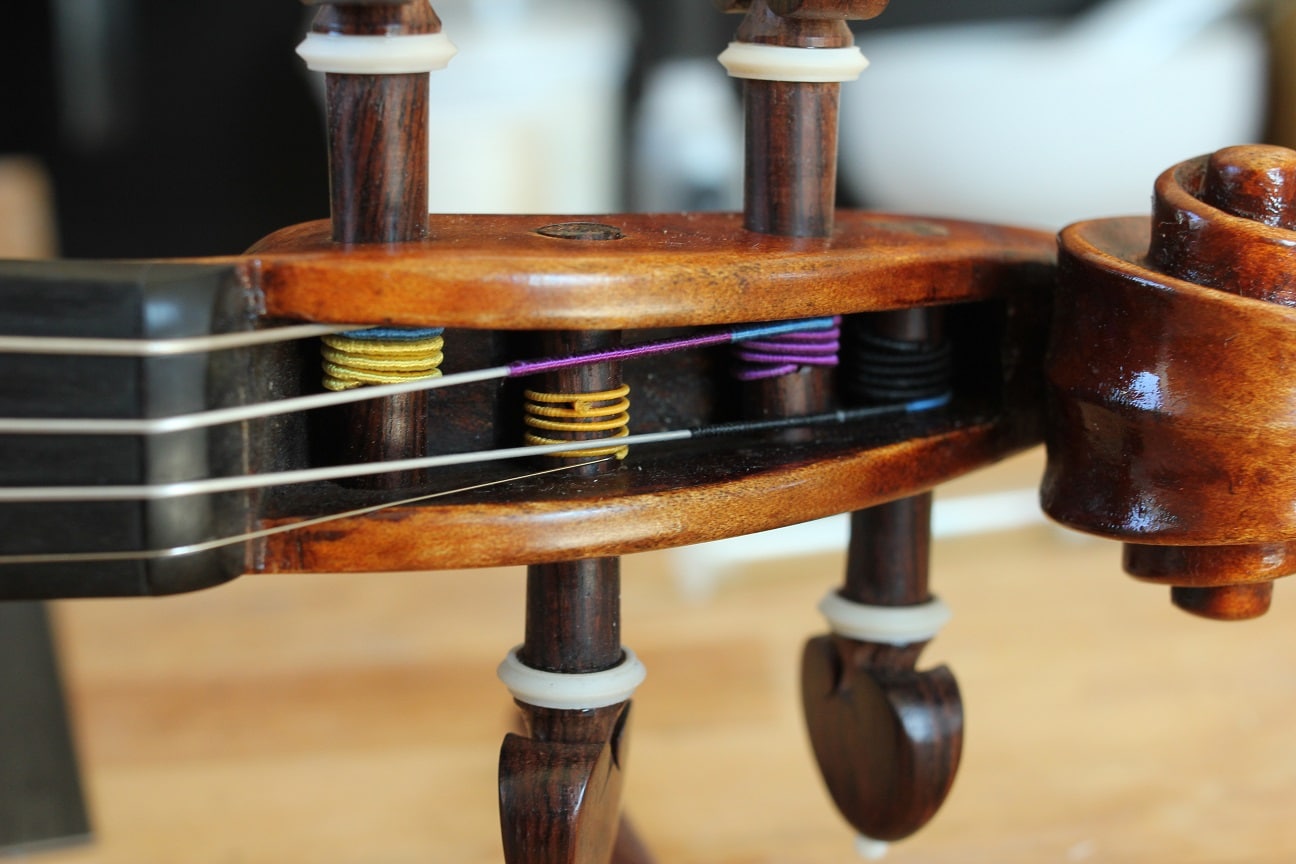
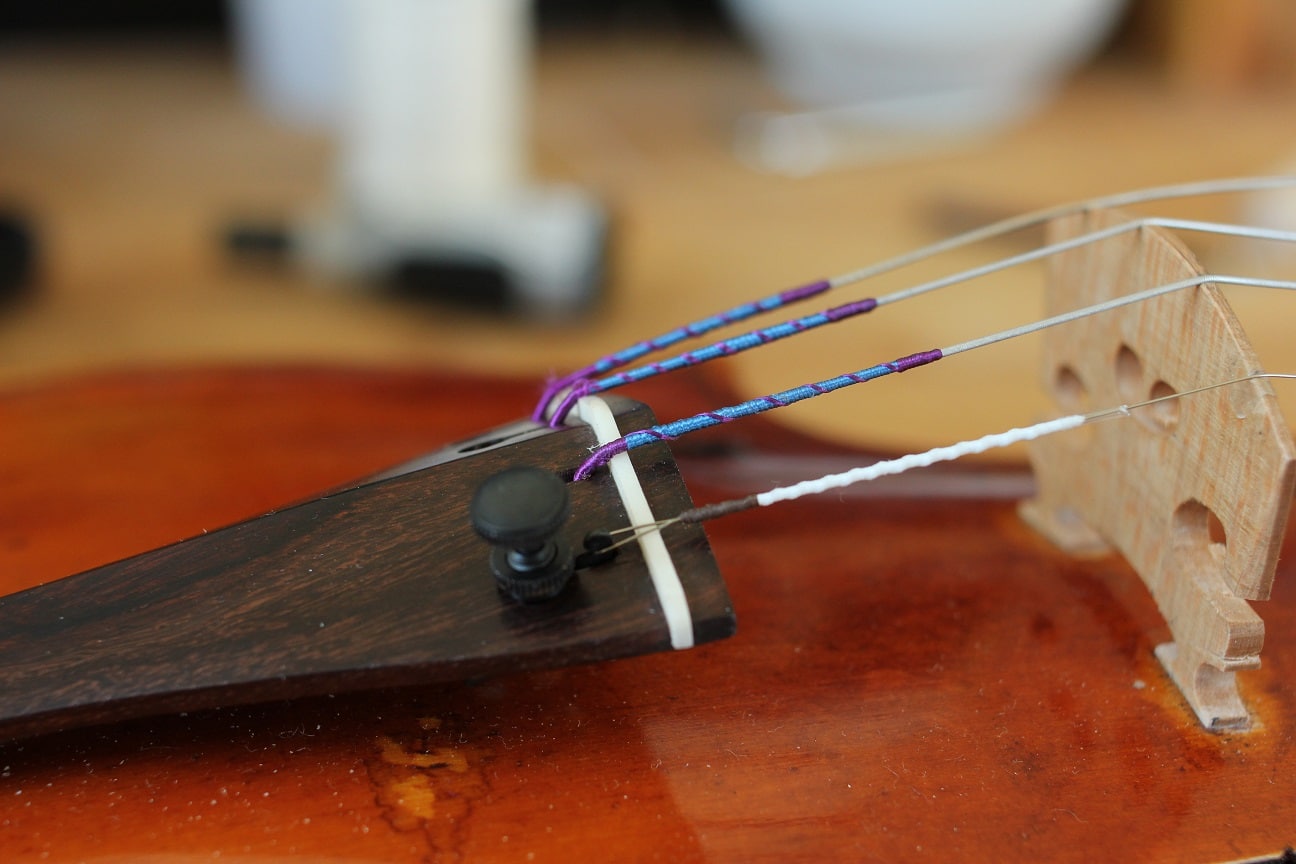
Incidents can also occur when a string is fitted where it should not. For instance, G and E violin strings are easy to recognise, but it’s not that simple for the others. Hence string makers have designed colour-coded strings. According to the different patterns located at the end of the strings, you can tell them apart:
- The colours located near the pegs tell the note (but they’re not the same everywhere in the world…)
- Whereas the colour near the tailpiece refer to the string model
- There can be hints on both end for string sets that display various tensions.
Besides, using a tuner when you change your string will prevent you from going too far, especially when you’re not used to tuning.
[blog_posts items=”1″ orderby=”date” ids=”3467″]
Pulling on the strings
Guitar players do it all the time, and some violin players as well. The idea is to over-tension the string with your finger (just like a bowman would) to stabilise it quicker. This works, in theory. In practice, you still face over-tension issues. Any string-maker can agree that their products are not made to sustain such pressure. So please be patient, and, even if that is longer, let the strings stretch at their own pace.
Knotting strings
Tying the strings to the pegs is absolutely unnecessary. I know that factory-made grooves are sometimes too large to fit strings that can be very thin. However, once the string has been fitted, the winding is enough to set it in the right place. Any further move could damage the stability or the strength of the string.
Now that you’ve read this article, I hope that changing violin strings no longer scares you – or at least scares you less. Please feel free to share your experiences or advice in the comments.